How to fix a toilet flush button – Replace toilet flush button

Up2Speed Marketing Ltd • July 2, 2025

You never consider how to fix a toilet flush button until you break yours and you don’t have a choice. When you face a flushing problem in your toilet, it can cause some trouble and make your toilet impossible to use.


This is always going to be an issue – you need to use your toilet, and you need to be able to flush it, too.


Today, we’re going to talk you through how to fix a toilet flush button!

My toilet flush button is broken, how do I fix it?

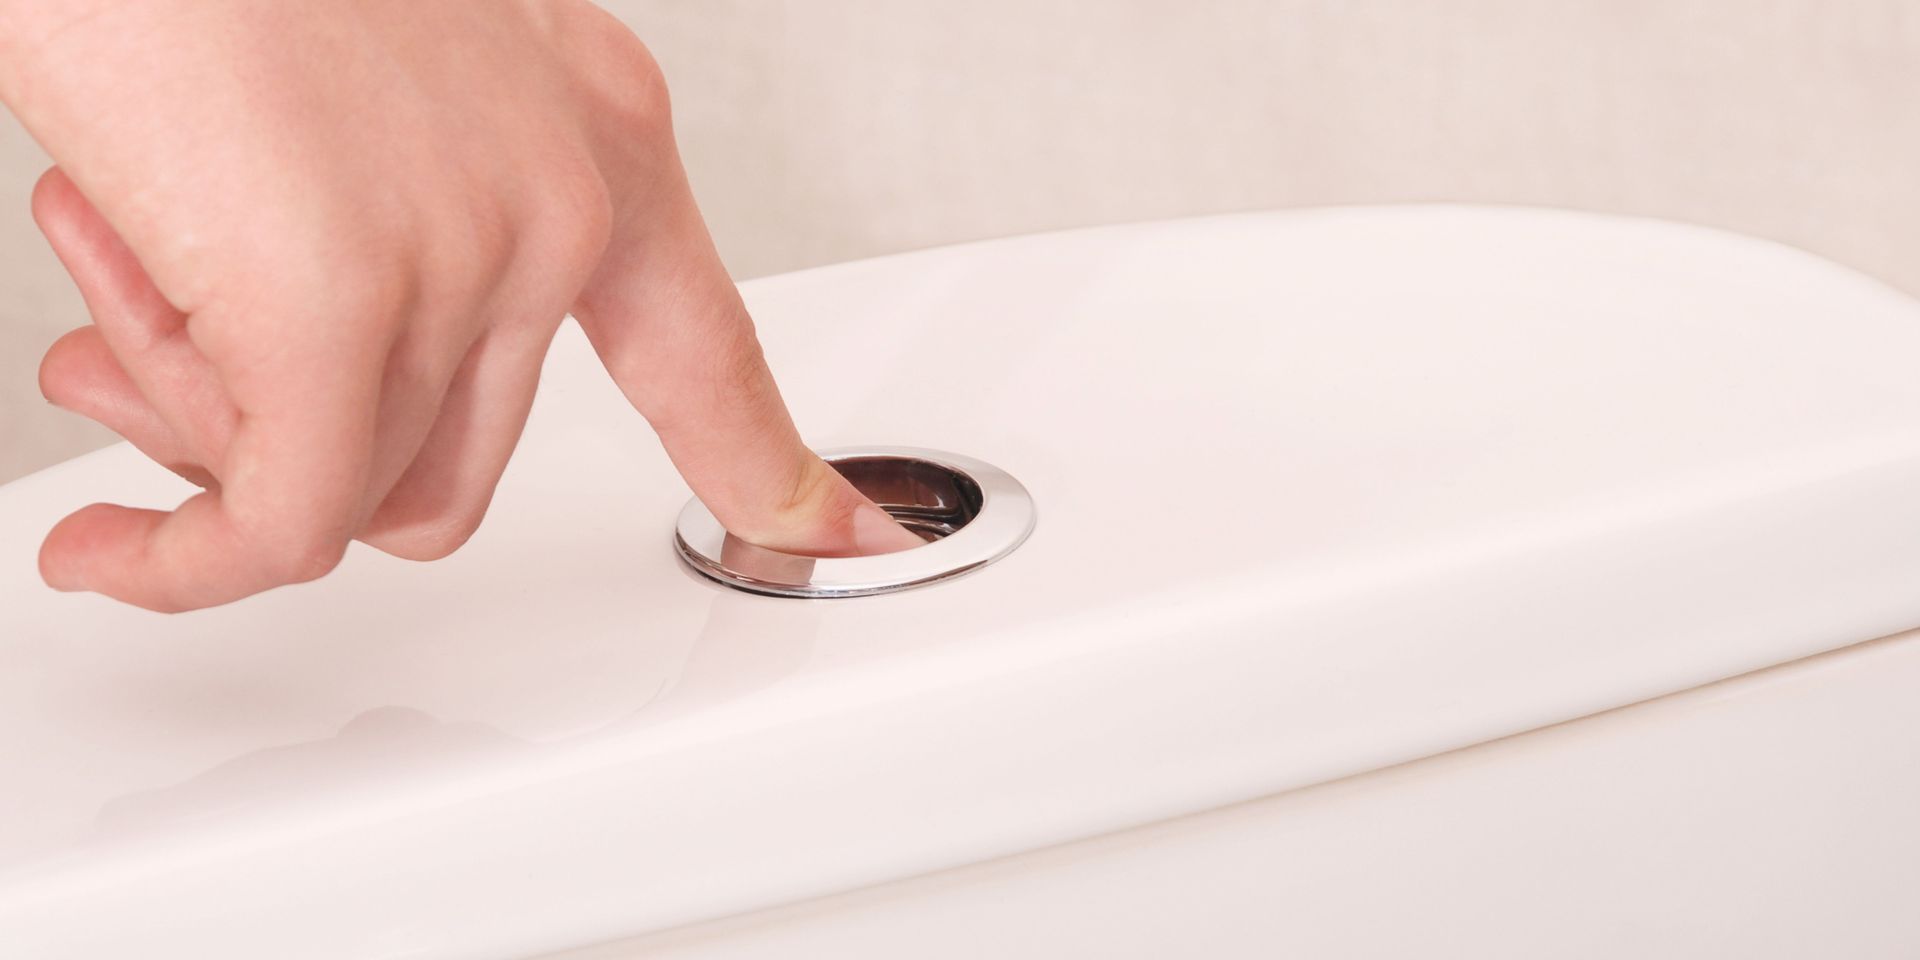
Every single toilet has a flush point, whether that be a handle or a button to push. After use, you press the button or pull the lever and the water flushes through the toilet, taking the waste down the pipe. Over time and use, toilet flush buttons can (and do!) break, and it’s at this point you need to know how to fix or replace your toilet flush.


Toilet flush buttons are a modern feature for a toilet, as they used to be flushed with a hanging chain feeding into the cistern of the toilet. This would hang down the side of the toilet cistern and were easy to replace and fix.


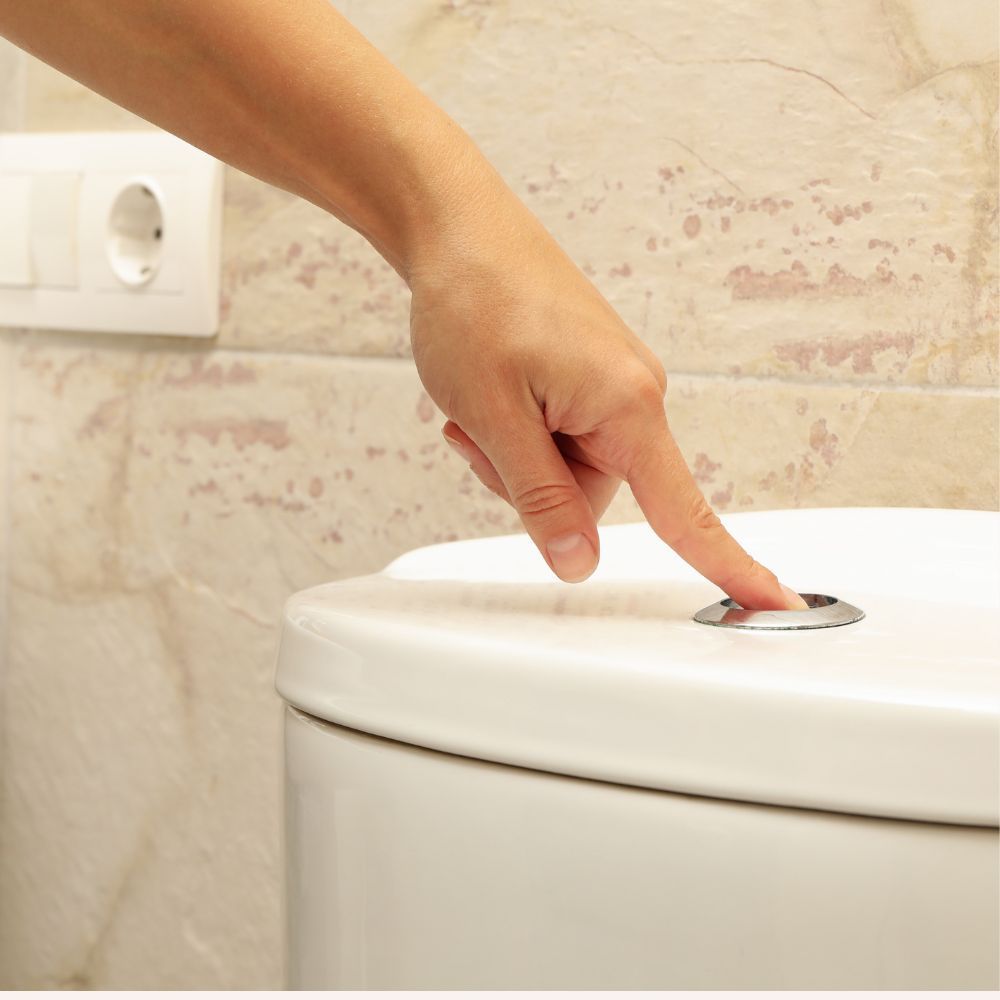
Nowadays, most toilets have discreet buttons on the side or the top of the cistern, but these can still break and need replacing.


In this article, we’re going to talk you through the tools you need to fix or replace your toilet flush button, and we’re going to teach you how to do it from start to finish.

Tools needed to replace a toilet flush button

Before you get started with learning how to fix a toilet flush button, you need the right tools to get you started. You don’t need very many, luckily, so you know that this is going to be an easy job for you!


Below, we’ve got a list of tools required to resolve the issues that you’re having with your push button toilet flush issues. Once you have opened the toilet cistern, you’ll see whether you are dealing with a top press dual flush valve or a flexi-mount dual flush valve, which will ensure that you are using the right tools.


  • So, what do you need?


  • A pair of grips


  • A flathead screwdriver


  • A towel – to clean up any water mess


The tools you require depend on the problem you’re having with your toilet flush button, but the good news is that the tools you need are most likely found in your toolbox already.

How to change a toilet flush button – Step by Step

Replacing a faulty toilet flush button isn’t a difficult process, but if you’re new to it, it can feel as if there is a lot to it. It doesn’t matter whether your toilet has a standard flush or you have a water-saving feature — if you need to replace it, we can assure you that you can!


Before you rush to Google how to fix the toilet flush button, check out the steps below and follow them carefully. We can guarantee that you’re going to be able to fix your faulty flush button in no time at all!

Step 1: Turn Off Your Water

It’s an obvious step – or so you’d think! Many people forget this most important step of the process, but if you don’t turn off the water, you’re going to need that towel for sure!


Some toilets have an isolation valve, and if yours does, turn it off before you get started. This will stop the water to the toilet but not for the rest of the house, so you can keep using the water elsewhere.


If you don’t have an isolation valve, check under the kitchen sink and turn off the water there at the stopcock. It won’t be hard to find as it’ll have a “W” on it!

Step 2: Remove The Cistern Lid

There is a refill tube inside the cistern, so lift the lid and disconnect the refill tube from the lid. Put the lid down somewhere safe and take out the old button. It won’t be hard — you just have to undo the back nut.


Clean out the rim of the hole and it’ll be clean and ready for the new button. Be careful with the lid – it can smash easily!

Step 3: Start Draining The Water

Before you do anything further, flush down the system and you’ll be able to empty out the cistern. You have to empty it before you remove the entire cistern, otherwise you risk flooding everything in the bathroom.


You can flush out the system easily depending on the type of flush mechanism you have. If there’s a little water left in the cistern, don’t worry — it won’t make too much of a difference.

Step 4: Remove the cistern

Removing and replacing the flush button is easier when you remove the cistern entirely. In fact, you won’t be able to replace it without taking the cistern from the toilet. Take the screwdriver and remove the screws holding the tank to the wall — and do it carefully.


Underneath the cistern, you’ll find two wing nuts, and those need to be undone so that it can be lifted away completely. Keep the nuts and bolts, as well as the screws, to one side, and you’ll be able to find them again later.


Remove the pipe that goes into the tank, then empty the leftover water from the tank and close the lid of the toilet. Add your towel to the lid and remove any water from the area where the cistern goes.

Step 5: Take Out The Old Flush Valve

Right at the base of the cistern, you’ll find a rubber gasket shaped like a doughnut. You can use the grips here to remove the back nut that holds the flush. There’s a metal clamp that you need to remove and put to one side, and then check if the doughnut washer is still in good condition.


If the condition is good, you can reuse it and put the new washer to one side as a spare. Take out the flush valve from the tank and then give it a wiggle to slide around the hole.

Step 6: Begin Adding The New Flushing Mechanism

Some flushing mechanisms can be a pain to fit, but once you get the new flush unit out of the packaging, it’s time to fit it in. Take out the washer and remove the nut by hand, then move the new seal up so that it’s tighter at the bottom of the unit.


You can then add the new valve through the cistern and secure it in place. You can then put back the rubber gasket (the doughnut one!).

Step 7: Start Putting The Cistern Back

Now, we need to reverse the process of taking the cistern off the wall and put it all back together. You start with the two bolts going back into the bottom of the tank, and then put the cistern back in place.


You just need to tighten the wing nut to secure the cistern to the toilet bowl, and for that you’ll need the screwdriver to tighten those screws holding the tank in place to the wall. Make sure that the cistern is steady – you don’t want it falling back off the wall again.


Lastly, attach the cold water feed back onto the cistern.

Step 8: Check Your Flush Valve

Set the fill valve to a position that allows the float to move up and down without getting stuck. Make any adjustments necessary, and you can then test the result once the water supply is back on.

Step 9: Replace Your Flush Button

This part is the easy bit. All you need to do is unscrew the nut at the back and fit the button before tightening the nut again. Use the shroud if it comes with one, but you don’t have to if the button fits well.


You can connect the button to the rest of the toilet system, add the lid, and you’re finished!

Step 10: Turn The Water Back On

Reconnect the toilet to the water supply and flush it all to test that the button is working. Look for leaks and drips, as these will tell you if you’ve reconnected it properly.

The Takeaway

The process of changing out the toilet flush button is not a hard process, but you need to go carefully so that you don’t break the cistern or lose any of the pieces along the way. Start out with everything (tools, etc.) laid out so that you have it all within easy reach. This will mean that you don’t have to scramble to find anything while you’re holding up a toilet cistern!


Now that you know how to change a toilet flush button, you won’t have to worry if yours breaks with wear over time.


If you need more help with your toilet flush button issues, give AQUATEK a call on 07793 206136, and we will be more than happy to walk you through it!

By Up2Speed Marketing Ltd July 2, 2025
One of the main calls that most plumbers receive every year, is the question ‘why is my boiler losing pressure?’. There could be many reasons as to why the boiler may be losing pressure, but the main factor in why it could be is that there could be a leak in the system somewhere. Some of the parts that could be leaking, could be the radiator valve, a pipe or something else that could be allowing the water to escape the system, then causing the loss of pressure within the boiler. However, they are not the only things that could cause a boiler to lose their pressure. There could be a problem with the valve on the boiler that could have possibly started to fail, in turn causing a drop in the pressure inside the boiler.
By Up2Speed Marketing Ltd July 2, 2025
We all rely on our central heating systems, and that makes it even more frustrating when a problem arises with yours. These problems often arise when you turn them on after long periods of disuse. To avoid problems, you should turn the heating on periodically throughout the summer so those periods of disuse aren’t as long. We’re going to talk about what can be done to fix any problems you might experience with your heating system, as well as some of the most common problems that might cause those problems to begin with. So read on now to find out more.
By Up2Speed Marketing Ltd July 2, 2025
Boilers are built to last, with a life expectancy of up to fifteen years but as with anything, problems can and do occur. This is especially true overtime when it comes to older models. Parts can wear out, and eventually, need repairing or replacing completely causing you a number of problems along the way.
By Up2Speed Marketing Ltd July 2, 2025
Picking the right boiler for your home is very important. Whether you’re replacing one that’s broken or need to get a new one that works better for your property, it’s a task that needs plenty of research. Boilers aren’t cheap after all, and you want a central heating system that’s going to provide everything you and your household needs on a daily basis. But what boiler size do you need? Most of us will have little knowledge of the variety of boilers out there, let alone what each one can do to benefit the home. So with that being said, here are some tips on picking out a boiler size that’s perfect for your property.
By Up2Speed Marketing Ltd July 2, 2025
Central heating is something that shouldn’t be loud and obtrusive when it comes to the noise it makes. If your central heating has been well maintained, then you shouldn’t really experience anything too loud when it’s being used. However, there can be cases where your central heating is louder than usual or makes regular noises that might include banging, gurgling, or even dripping sounds. With that being said, here’s why your central heating might be noisy.
By Up2Speed Marketing Ltd July 2, 2025
‘Bathroom fixtures, toilet fittings, bath and shower fixtures’ – you can see how these words can quickly become confusing bathroom terminologies when you are renovating your bathroom. Out of the many different terms, ‘bathroom fittings’ sounds simple enough, but what exactly does it mean? This guide seeks to help you understand precisely what bathroom fittings are and give you an understanding of some of the bathroom fittings lingo you may hear during your project.
By Up2Speed Marketing Ltd July 2, 2025
Winter is well and truly on our doorsteps, and we all need our heating systems and hot water to be running smoothly. So if you find that your radiators aren’t heating up correctly, the room feels cold even with the heating turned up, or the radiators you have are cold to the touch at the top, then the first thing to try is bleeding your radiators. When air becomes trapped inside the radiator, it can affect the performance of the unit and result in a partially heated or cold room. This occurs from time to time, but as it’s not every day, frequently people misplace or lose their radiator key. Before you give up, there are a few substitutes that you can use to get the job done.
By Up2Speed Marketing Ltd July 2, 2025
Having low water pressure is an extremely annoying problem. Even worse is turning on a tap in your home to find out that you have no water. When this happens, you need to act fast to restore running water in your home. Low water pressure can do more damage than merely inconveniencing you. For instance, it can damage appliances like the dishwasher and the water heater. This is because these appliances require specific water pressure to work effectively. If they are continuously operating with low water pressure, they may get damaged, and you may even have to replace them. So, what causes low water pressure? And what can you do if you encounter this problem? Read on to find possible causes and practical solutions to your low water pressure problem.
By Up2Speed Marketing Ltd July 2, 2025
A washing machine or dishwasher is not only convenient for the house, but they are also easy to use. These machines come in handy when it’s time to clean up the house and do laundry. Here is why: They eliminate physical effort where you don’t have to use your hands to wash clothes and clean dishes. It saves time since the machines perform all work, which includes cleaning and drying. So, you can multitask and finish on time. They perform quality work compared to using your hands, which can miss out on stains. They protect clothes from getting damaged while avoiding careless dropping of dishes. Washing machines and dishwashers continue to make life easy. That is, they provide new technological advancements with each new make. Such include different sizes to fit in different house spaces, while others provide a variety of setting options to choose from, where the type of cleaning depends on material and color of clothes or type of dishes. But without careful plumbing of the dishwasher or washing machine, it can be difficult to use them. The average time a person can take to install these machines is two hours. If you don’t know how to do it, consider hiring a plumbing specialist. Luckily, you can learn how to install a washing machine or dishwasher with this simple guide. These tips can help you avoid an additional fee for installation. Let’s dive in.
By Up2Speed Marketing Ltd July 2, 2025
A dripping tap can drain your water reservoir and pockets, leaving you with a huge water bill. The leakage is not only annoying but also a costly and safety hazard. For those with handyman skills, fixing a leaking tap can save you money. Despite the different types of taps, the following are standard tools that you’ll need to get the job done: Flathead screwdriver Gaffer tape Shifting wrench Pliers or adjustable spanner The choice of a tap primarily boils down to your tastes, preferences, and budget. Differentiation is mainly based on mounting, design, spouting, and tap mechanism. Compression washer tap: Also known as a washer tap, a compression washer tap is a pillar tap with a handle for controlling water flow. This type of tap has a simple tap mechanism that only requires twisting to move the washer up and down. Ball tap: The controlling mechanism works by manipulating the internal hollow ball using the handle. Cartridge tap: Despite the twisting mechanism to control water flow similar to washer taps, cartridge taps have cartridges. The internal cartridge gives you greater flexibility for controlling water flow and temperature. Disc tap: This tap comes with disc ceramics for controlling water flow, which is achieved by manipulating and aligning the discs via the handle. Other tap types include a mixer tap, which is a single unit with two handles for hot and cold water. You can also opt for a monobloc tap, which has a single handle that turns either direction to control the water temperature. These types are based on the design and use disc, ball, cartridge, or compression mechanisms.
Show More