

If your home needs a new radiator, or you’re simply looking to upgrade to a more energy-efficient model, you’ll need to remove the old one first. Many people wonder how to remove a radiator, fortunately, radiator removal is a relatively easy process that anyone can do with the right tools and a little know-how.
Why you might need to remove your radiator
There are several reasons why you might want to remove a radiator from your central heating system. One reason could be because the radiator is leaking and needs to be repaired or replaced. Another reason could be because you’re doing a renovation and want to take it off the wall to paint behind it. Or maybe you simply want to carry out a permanent removal for aesthetic reasons.
Whatever your motivations, removing a radiator can be a fairly easy process if you follow these steps.
Tools you will need to remove a radiator
In order to remove a radiator, you’ll need the following tools:
A radiator bleed key

This should have come with your radiators, but don’t despair if you can’t find it as you should easily be able to pick one up from a hardware shop or online. They are generally universal, so you could even borrow one from a friend. Modern central heating works on a pressurised system and this key is used to allow trapped air to escape from the pipe system.
An adjustable spanner or wrench
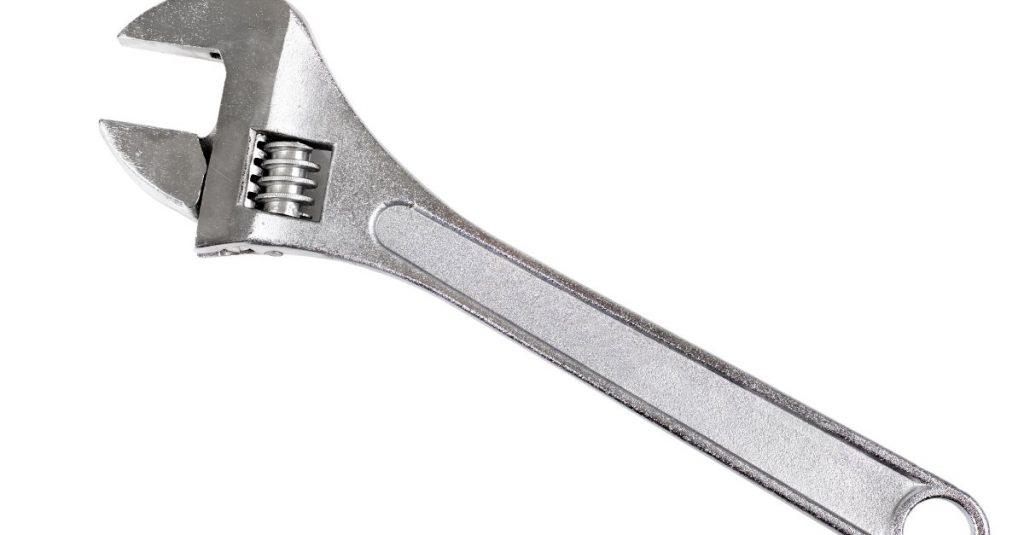
An adjustable spanner is used to loosen the bolts that attach the radiator to the wall brackets and also to loosen the nuts in the drainage stages.
A screwdriver set
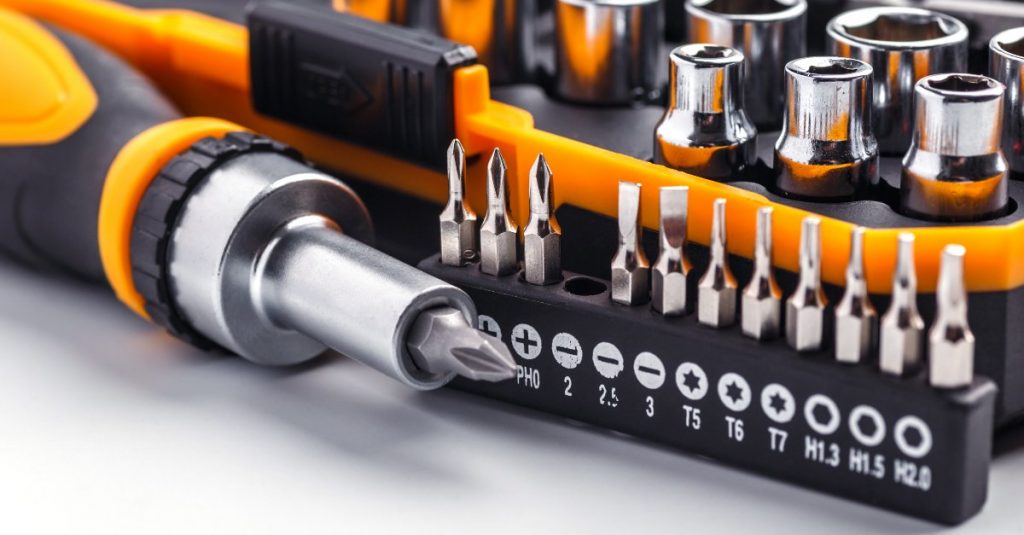
You’ll need this to remove any screws that are holding the radiator in place.
A heavy-duty pair of gloves
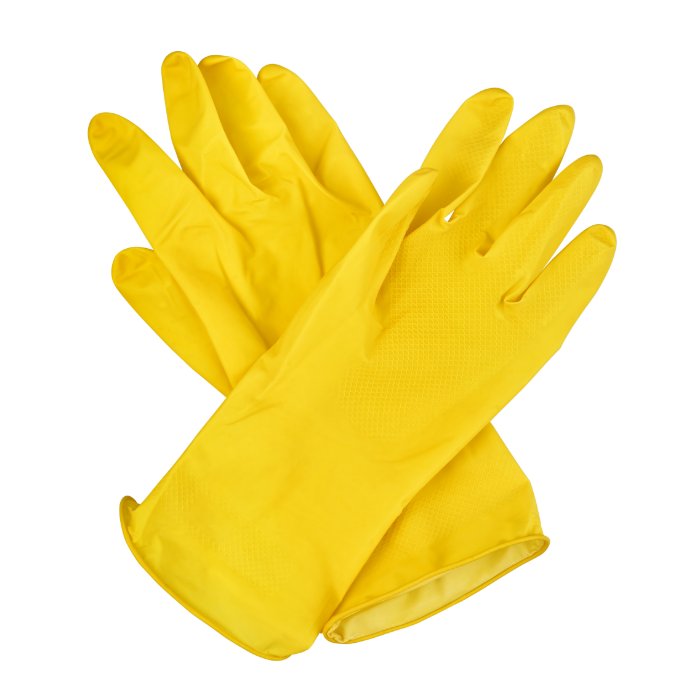
Although we strongly recommend removing a radiator once it’s completely cold, you may choose to try and do it as it’s coming off of a heating cycle. If you go down this route, it’s a bad idea to think you won’t need gloves as the radiator may still be hot in places, plus they give you some much-needed extra grip when handling the radiator.
A bowl or large container
This will be used to catch water that comes out of the radiator when you remove it. A large tupperware or similar works better than a bucket as it has a lower profile, allowing it to sit under the pipes that will most likely be close to the floor.
Water plays havoc on hardwood floors, so, if you have them, you’ll want to make doubly sure you have a bowl underneath when draining the entire system.
More than one towel
These can be used to soak up any water that leaks out of the radiator.
A friend (optional)
It’s always helpful to have an extra pair of hands when removing a radiator. Some of them can be particularly heavy so it will be helpful to have someone help you with the radiator lift, and, as the old saying goes, “many hands make light work”.
Once you’ve assembled the key players for your radiator removal endeavour, it’s time to get started.
Remove your radiator in 7 steps
Step one – turn off your central heating system!
Step two – turn off the radiator valves
Step three – drain the radiator
Step four – remove air and excess water through the bleed valve
Step five – repeat the process on the valve on the opposite side
Step six – disconnect the radiator from the pipes
Step seven – carefully take the radiator off of the brackets
Step one: turn off your central heating system!
This is an important step that should not be overlooked. Radiator pipework can contain hot water, so it’s best to err on the side of caution and turn off the whole system before you begin.
Carrying out this operation is usually quite straightforward and will mean turning off any scheduled programs using your operating panel and turning the thermostat down to zero.
For a “belts and braces” approach, you could also shut off the water supply.
Step two: turn off the radiator valves
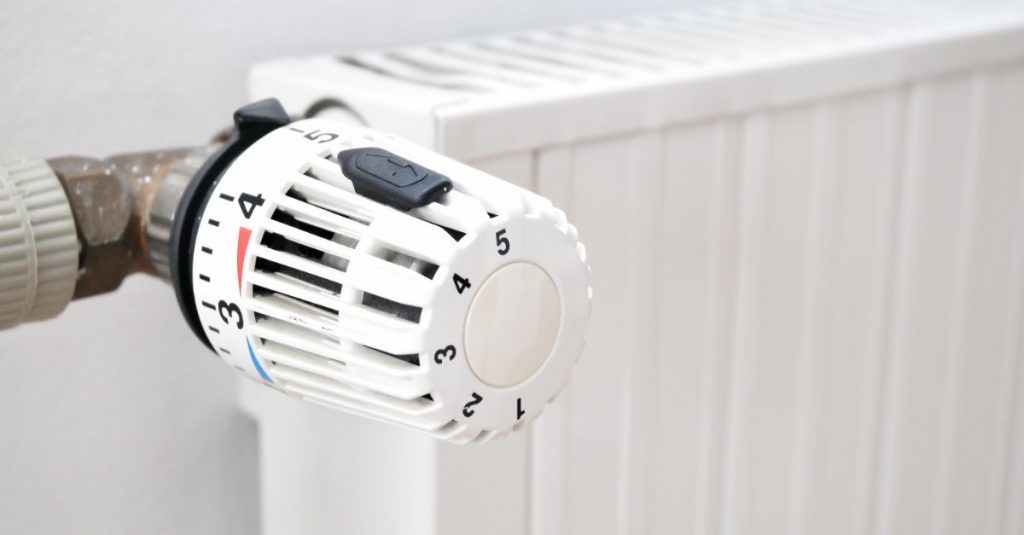
To turn off the radiator, locate the thermostatic radiator valve (TRV) — it’s the knob on the side with the numbers — and set it to zero or off.
Opposite the thermostatic valve is a different valve called the lockshield valve. Where thermostatic radiator valves are usually horizontal, the lock shield valve will be vertical. Once you’ve got it, remove the plastic cap on top of the lock shield and find the small spindle inside. Turn the lock-shield clockwise with a wrench until it is shut. Take note of how many times you need to turn it while doing so so that you can reset your radiator back to its original pressure when you’re finished.
Step three: drain the radiator
Now that your radiator is turned off, it’s time to start the process of actually removing it. Before you do anything else, though, you should drain and bleed the radiator to release any hot water and pressure that might be inside; so grab your towels and container, ready for gathering and mopping the water.
To drain your radiator, first, locate the drain valve at the bottom of your radiator. It will look like a small tap. Place your bowl or container underneath the radiator valve nut to catch any water that comes out and then an adjustable spanner set to open the valve; use one on the body of the valve and the other to gently loosen the nut which joins it to the radiator.
You might need to use some force to get it started, but be careful not to strip the threading. Just turn it until water starts coming out, and then close it again once the radiator is empty.
Step four: remove air and excess water through the bleed valve
Next, use your radiator bleed key to open the bleed valve, which is usually located at the top of the radiator. You might need to use a screwdriver to help you do this. At first, you should hear a hissing sound as any air in the radiator is expelled from the pressurised heating system. Water will start coming out after so make sure your container is in place and the towels are nearby.
Once the water has finished draining, close the bleed valve using your radiator key and then dry off any remaining water from around the valve.
Step five – repeat the process on the other valve on the opposite side
Your radiator works on a filling loop meaning it will have water inlets on both sides; due to this, you’ll need to do the exact same as before, just on the other side. So, repeat steps three and four on the other side of your radiator to fully drain the water out of the radiator.
Step six – disconnect the radiator from the pipes
Now that your radiator is empty and dry, you can start to disconnect it from the radiator pipes. The pipe removal process will be different depending on what kind of pipework your radiator is connected to.
If your radiator is connected to copper pipes, then you’ll need to use a pipe wrench to loosen the nuts which join it to the pipes. For plastic pipework, you can usually just gently pull the radiator away from the pipes.
Don’t forget to tilt the radiator once it’s been disconnected to allow for the little water that remains to flow out. This is the final step in the water drain process.
Step seven – carefully take the radiator off of the brackets
Since you’ve now drained all water from the radiators and disconnected the pipes, you can start to completely disconnect it from the wall. Radiators are usually held in place by two radiator brackets which are screwed into the wall, so unscrew these using a screwdriver or drill.
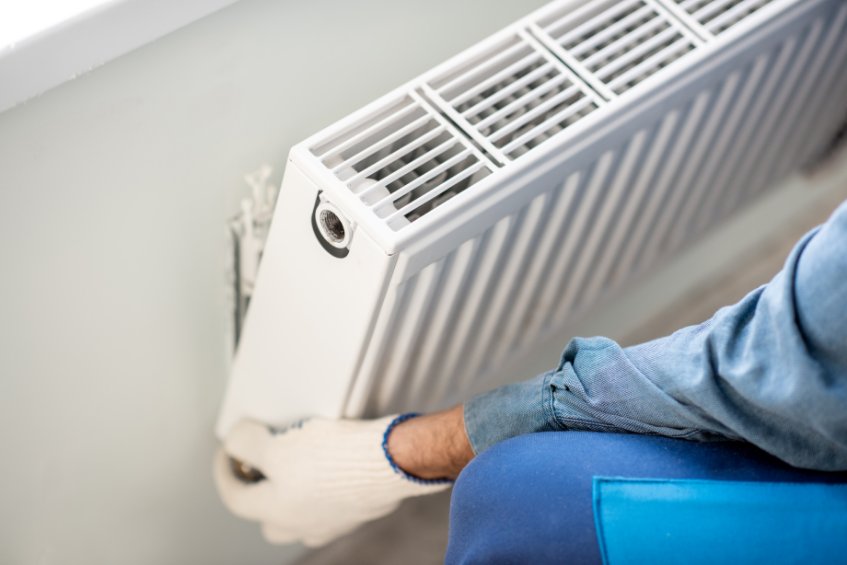
Once the screws have been removed, gently lift and pull the radiator away from the wall being careful not to damage either the radiator or the wall itself. If your radiator is particularly heavy or difficult to remove, then you might need someone to help you with this step.
And that’s it! That’s how you remove a radiator!
Who are Aquatek Plumbing?
Aquatek has been providing top-quality plumbing and water treatment services, as well as expert advice, to customers across London and the southeast of England since 1988. We operate on a 24/7 basis, so you can always count on us to be there when you need us. And, to give you extra peace of mind, we offer a 12-month guarantee on all work.
So if you’re looking for a company that can provide comprehensive, professional plumbing and water treatment services, Aquatek is the ideal choice.
Contact us today to find out more about what we can do for you.