How to Plumb in a Washing Machine or Dishwasher
A washing machine or dishwasher is not only convenient for the house, but they are also easy to use. These machines come in handy when it’s time to clean up the house and do laundry. Here is why:
- They eliminate physical effort where you don’t have to use your hands to wash clothes and clean dishes.
- It saves time since the machines perform all work, which includes cleaning and drying. So, you can multitask and finish on time.
- They perform quality work compared to using your hands, which can miss out on stains.
- They protect clothes from getting damaged while avoiding careless dropping of dishes.
Washing machines and dishwashers continue to make life easy. That is, they provide new technological advancements with each new make. Such include different sizes to fit in different house spaces, while others provide a variety of setting options to choose from, where the type of cleaning depends on material and color of clothes or type of dishes.
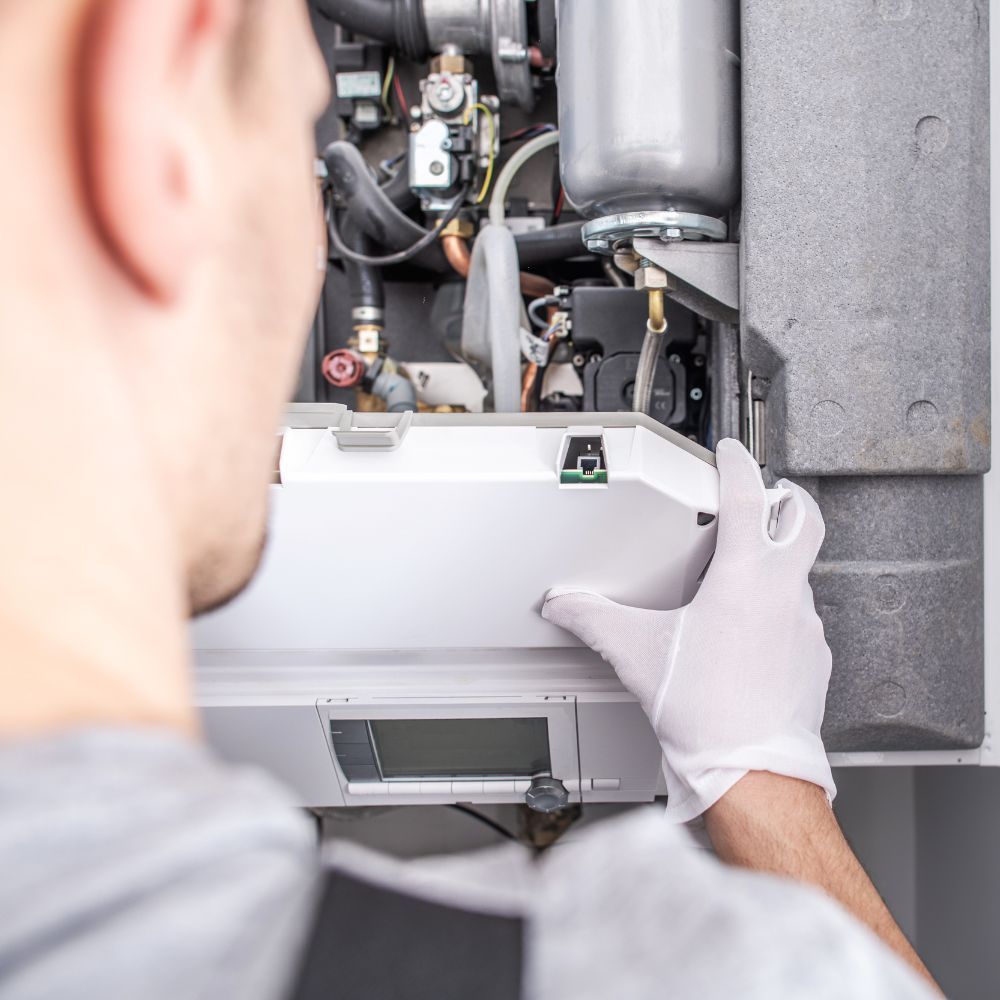
But without careful plumbing of the dishwasher or washing machine, it can be difficult to use them. The average time a person can take to install these machines is two hours. If you don’t know how to do it, consider hiring a plumbing specialist.
Luckily, you can learn how to install a washing machine or dishwasher with this simple guide from
Aquatek. These tips can help you avoid an additional fee for installation. Let’s dive in.
Preparation to Plumb-in a Washing Machine or Dishwasher
You will probably have a laundry room for washing machine installation and install the dishwasher in the kitchen. Depending on the location, after setting up the installation space, there are certain things to consider for the plumbing process. You need to factor in things such as: power supply and connectivity, cold and hot water supply, piping connections, and waste connection for drainage.
Power Supply
A washing machine needs a reliable power connection for functionality. Depending on the size and time taken for laundry, it will use a maximum of 1300 watts on average. By knowing this, it can help you plan on the socket-outlet to use. Also, ensure to use the right cable size for the machine’s adapter for easy plugging.
But today, washing machines and dishwashers are energy efficient, which contributes to low energy consumption. Additionally, a washing machine will have hot and cold water, minimizing heating, while a dishwasher will use cold water. Another life-saving tip is to avoid overloading the appliances. This is because they will require high currents to start, which means more energy usage.
Water Supply
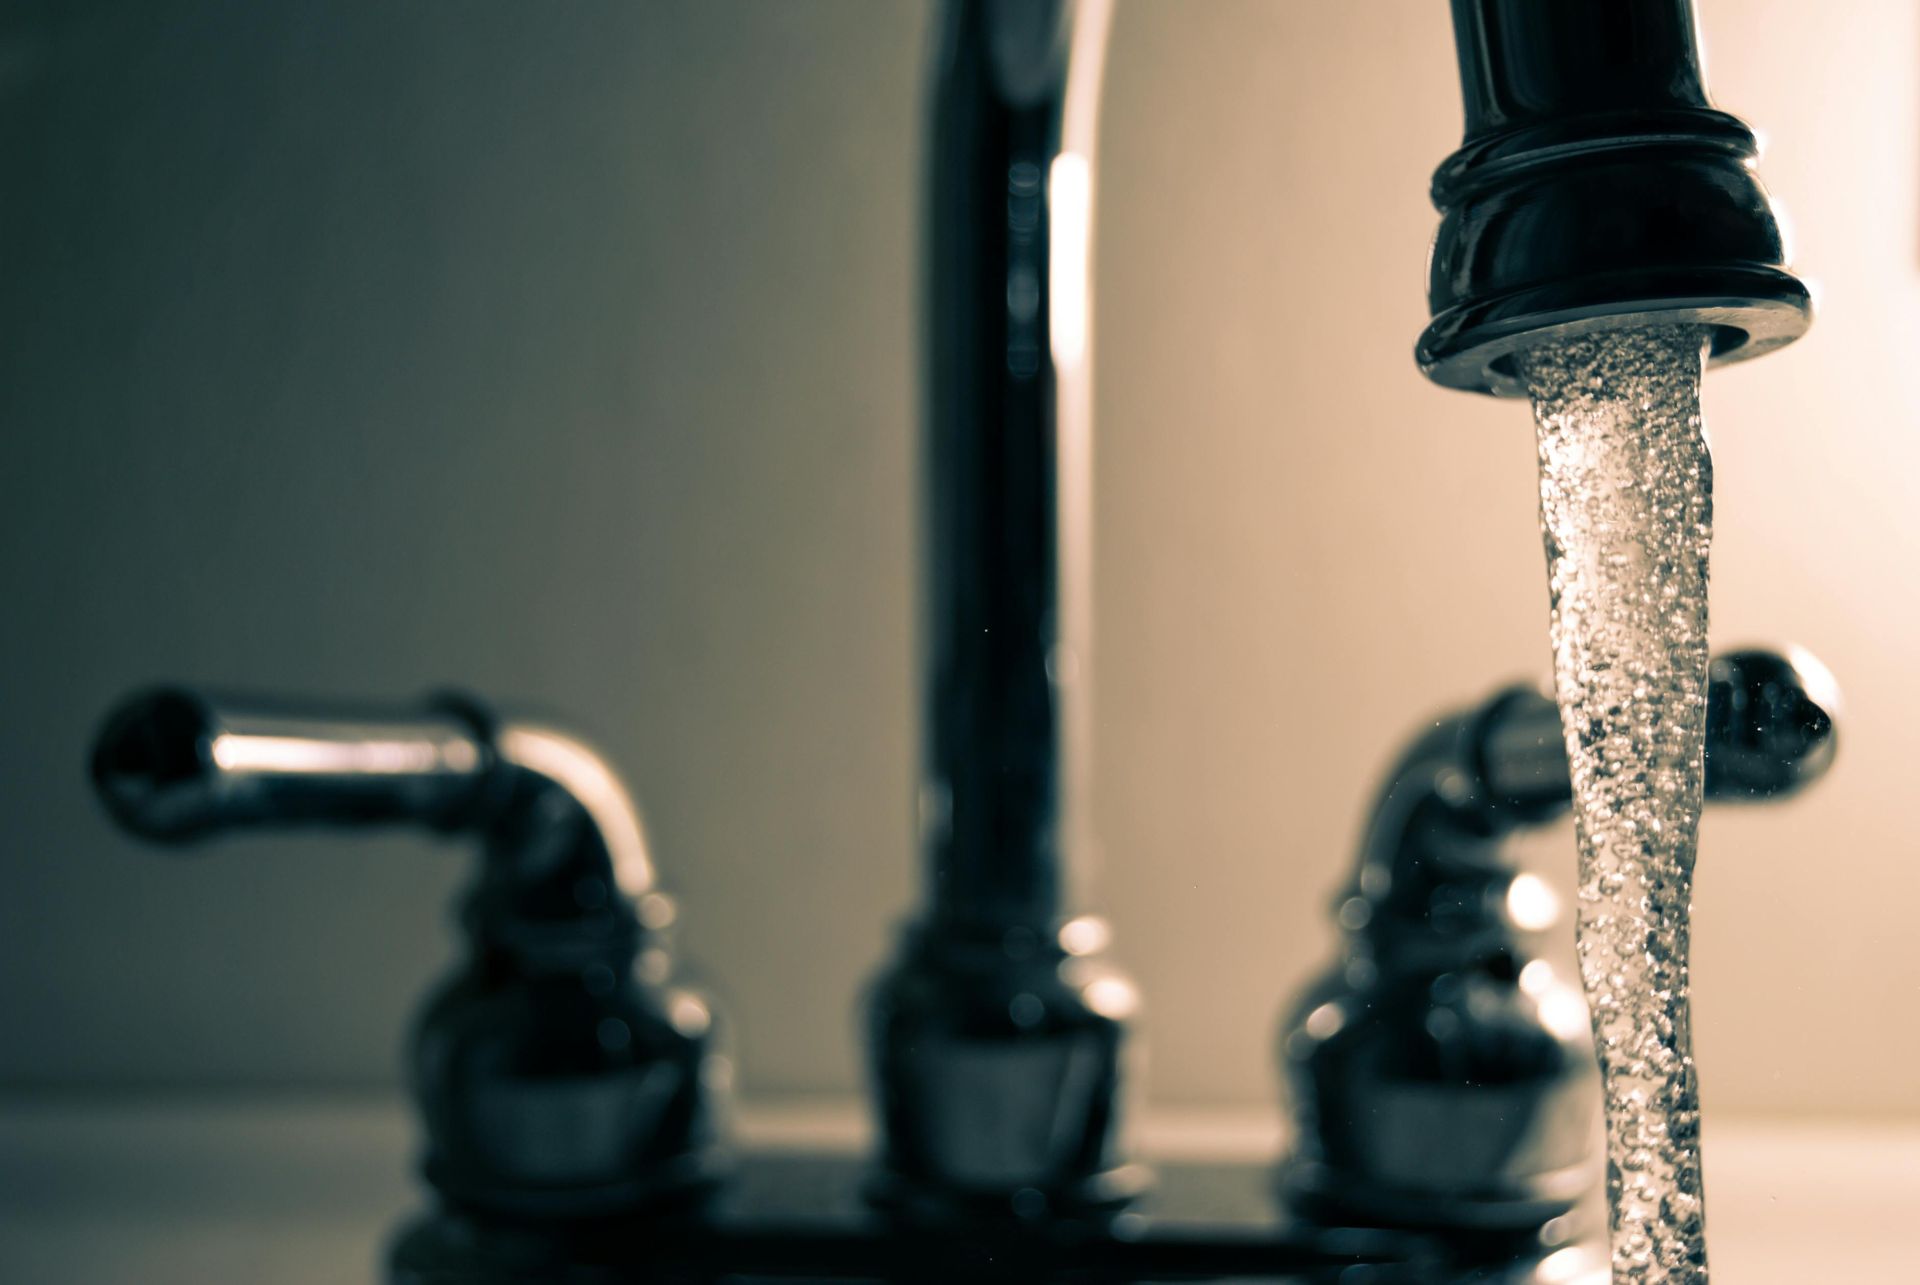
Water connectivity can be done through separate valves or connected directly to the main supply system. For this, using a valve is a better option as it provides for an easy water disconnection where it is placed between the inlet hoses and water supply pipes.
If your washing machine has cold and hot water pipes with double inlets, that does not mean you need two valves. So long as the pipes are near to each other, you can install a single valve.
Connecting directly to the water supply pipes can have a disadvantage as it does not prevent water entry into the machine when not in use. A dishwasher’s water supply can be connected to that of the sink, which has its location beneath.
Piping Connection
A washing machine will have a lot of piping connectivity running from the device to water sources and drainage systems-such as: washing machine drain hose pipes, water inlet hoses, and water supply pipes.
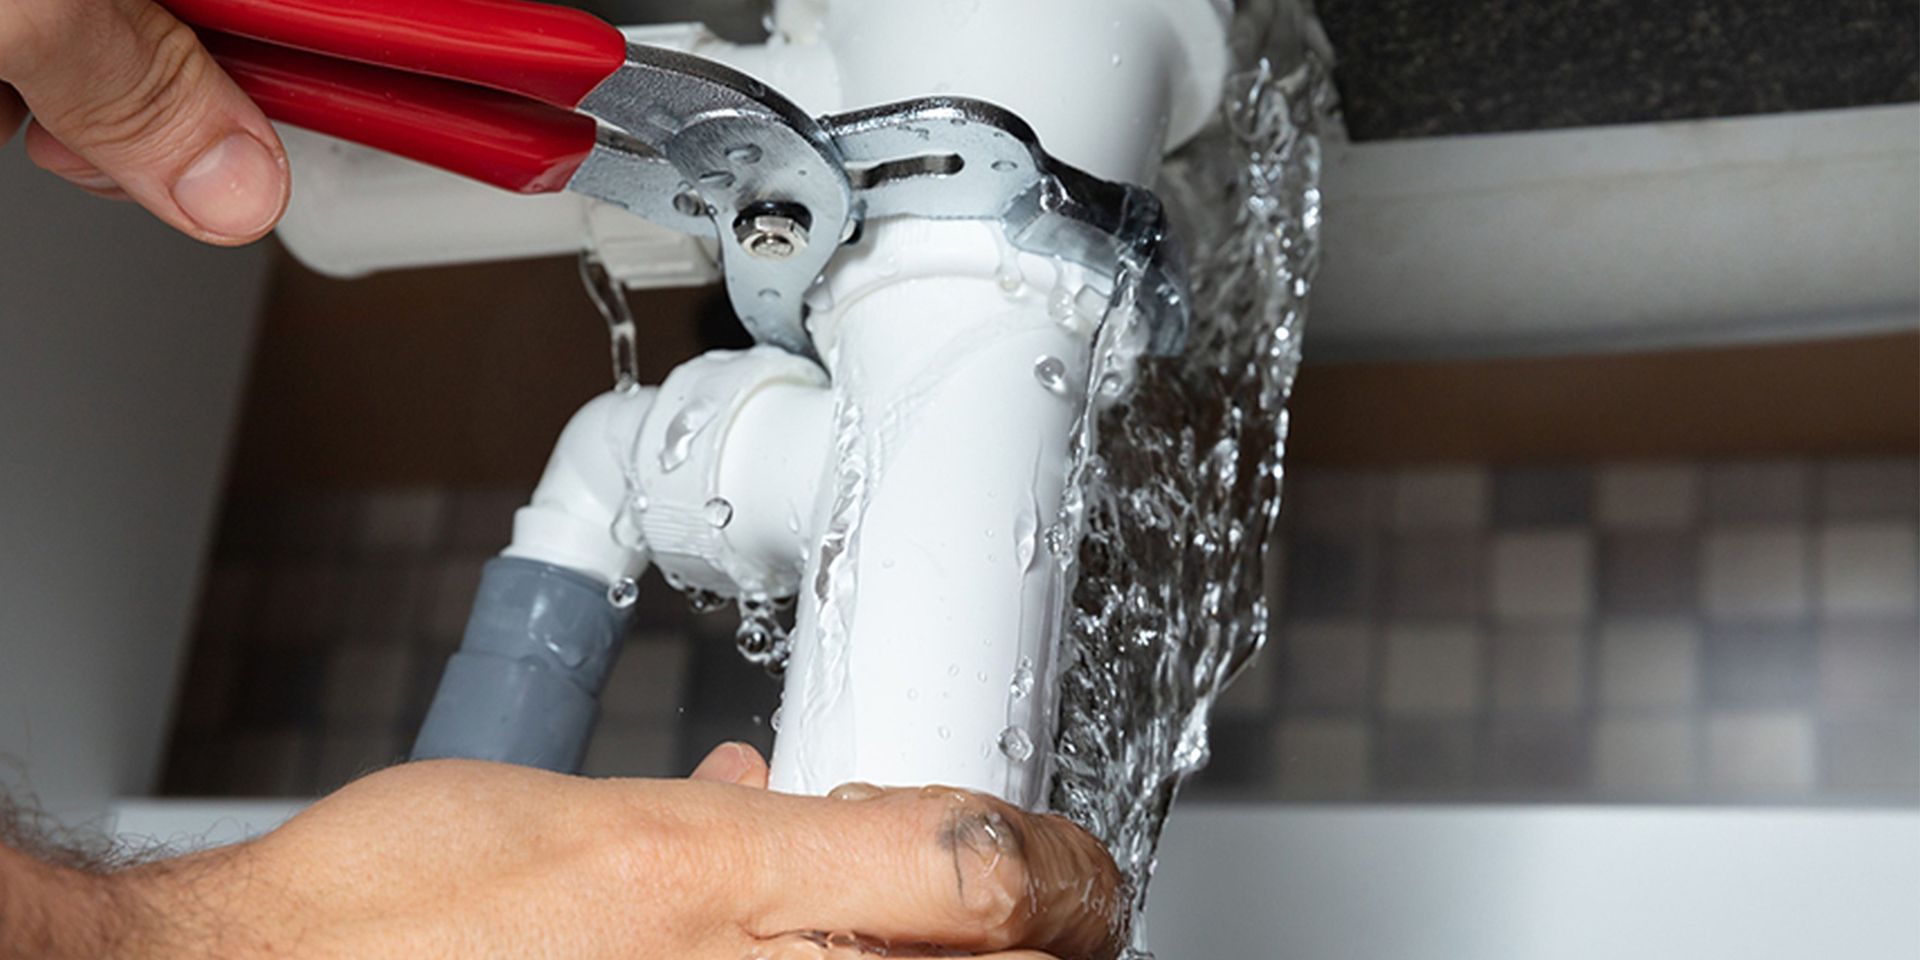
First, you need to ensure that these pipes are in good condition to reduce the chances of a leak. Secondly, ensure they are appropriately connected and have the right fittings. If not, consider extensions.
To extend, one can buy pipe extensions to attach to current hoses. For this, you will require plumbing tape for attaching, a tape measure to install the correct length, a bucket for emptying water, and adjustable pliers for screwing in the pipes. To install, follow user guides provided in the extension package.
Waste Connection For Drainage
A washing machine waste pipe provides a water outlet to the primary drainage system. Having a valve on the drain hose can prevent the reverse movement of the wastewater from the main drainage pipe back to the machine. Additionally, consider a standpipe drain, which provides extra prevention of water flowing back into the machine.
For a dishwasher, the drain hose needs to be separate from that of the sink to reduce blockage. It should also have a high loop to prevent water from flowing back. Such preparations make it easy to install the machines, as everything will be in check.
How to Fit Self-cutting Hose Connectors
A washing machine will have at least three hose connectors, including two water supply hoses for hot and cold water and a drainage hose. Installing these pipes is an easy process that you can complete within a few minutes.
Check for the length of each pipe and ensure they fit well without being overly tight. This can prevent tears, which contributes to a water leak. Ensure to also check them once in a while for quality maintenance.
These hoses have markings with letters where H is for hot water and C is for cold water. If not, they will have two distinguishing colours - red and blue.
It would help if you started by connecting the water supply hoses since they are located on the upper part at the washing machine’s back. Unscrew the water inlets, then connect the hose pipes and check for length for proper fitting. Then connect them to the water supply pipes and match them correctly: cold and hot movement.
The drainage hose is commonly found on the bottom at the back. Attach this hose to the water outlet, and then connect it to the central drainage system. Remember to include valves for preventative measures such as disconnecting water flow into the inlets and preventing reverse wastewater movement.
A dishwasher uses cold water, so it will have one hose pipe inlet and a drain hose. This connectivity will be under the sink. Check for the water inlet and outlet, and attach the hose pipes. Add on valves for the same preventative function.
Plumbing in Your Washing Machine or Dishwasher
After carefully making the above preparations, it’s time to install the washing machine and plumb in a dishwasher. But this will depend on whether you are replacing old ones or installing new ones.
If you are replacing, then you will use the same procedure done in uninstalling. For a new machine, here is how to plumb them in:
Washing Machine
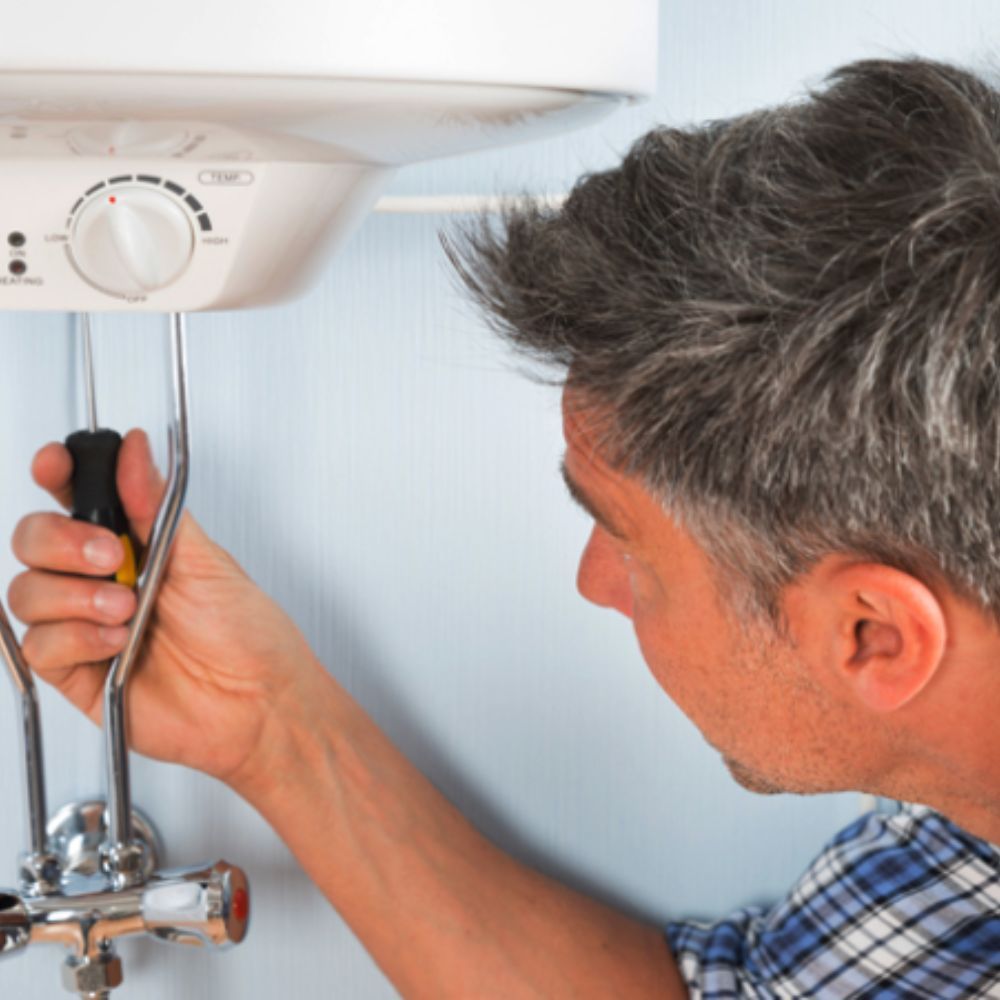
Before plumbing in, check for washing machine fitting. It should fit perfectly in the space available for installation and be on the same level as the dryer. Consider floor stability since the machine makes a lot of movement when in use, which can cause damages. In case it’s uneven, adjust the device by installing a uniform base.
Plumbing in
Start by attaching all the hose pipes to the machine and connecting them to the supply and drainage systems. It is advisable to avoid using tools such as a screwdriver to over-tighten it. Use your hands to know when to stop screwing. Do the same for the washing machine drain hose.
Turn on the water to test for movement. If it is perfect, close it and plug in the switch to the power supply. You can try it to check for any issues that can prevent a great wash.
Dishwasher
Plumbing In
After learning how to install a dishwasher, final plumbing procedures are relatively easy to understand. Attach the drainpipe to the machine and ensure not to overdo it. It is advisable to add an air gap to prevent clogging in the drain line. Screw in the inlet hose and add a water valve to control water movement when not in use.
Factor in height differences to ensure a perfect washing machine fitting. Besides, ensure you’ve made the necessary adjustments, and then slide it into its space. You can then plug it in and run tests for functionality purposes and check for possible leaks.
Remember that these simple methods are the same for built-in machines. If you are replacing an old built-in dishwasher, reverse back the steps used in uninstalling to plumb in the new one.
Other things to add are decorations that match your home’s aesthetics. For instance, you can attach a door on your dishwasher to match your kitchen’s wall painting or the other cabinet doors. It also applies to other items in your kitchen, such as the refrigerator, which can promote a unique vibe.
These machines use electricity, so it is advisable to put in measures to protect you from electric shocks and fires. You can do so by using protective cable insulators to prevent naked wires from coming into contact with water. Occasionally, check your washing machine connector for potential damages, which improves functionality.
Contact Aquatek Today
There you have the simplest and quickest way to carefully plumb in a washing machine or a dishwasher. For extra help, ensure to read the manuals carefully and thoroughly to check what you may not have done. If you still find it difficult to plumb in, you can book an appointment with Aquatek - Plumbing & Heating Services.