
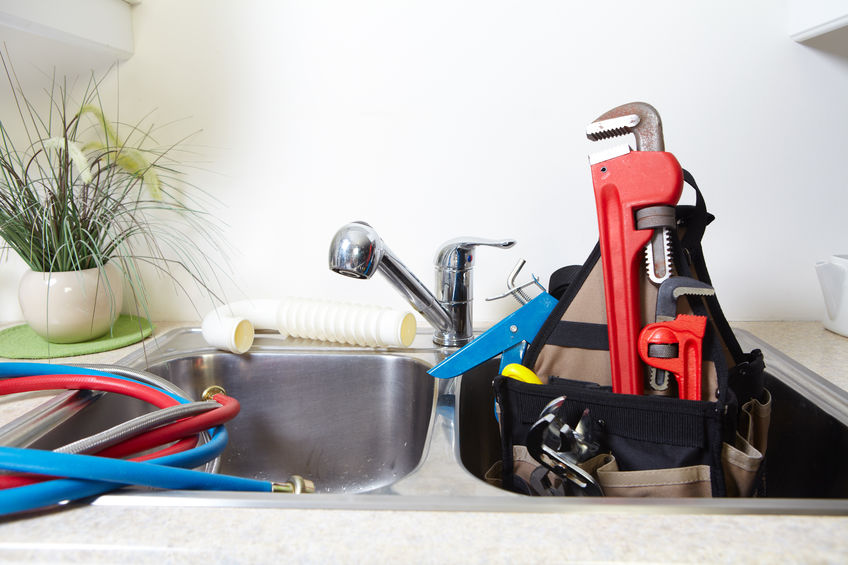
A dripping can drain your water reservoir and pockets, leaving you with a huge water bill. The leakage is not only annoying but also a costly and safety hazard. For those with handyman skills, fixing a leaking tap can save you money. Despite the different types of taps, the following are standards tools that you’ll need to get the job done:
- Flathead screwdriver
- Gaffer tape
- Shifting wrench
- Pliers or adjustable spanner
The choice of a tap primarily boils down to your tastes and preferences, and budget. Differentiation is mainly based on mounting, design, spouting, and tap mechanism.
- Compression washer tap: Also known as a washer tap, a compression washer tap is a pillar tap with a hand for controlling water flow. This type of tap has a simple tap mechanism that only requires twisting to move the washer up and down.
- Ball tap: The controlling mechanism works by manipulating the internal hollow ball using the handle.
- Cartridge tap: Despite the twisting mechanism to control water flow similar to washer taps, cartridge taps have cartridges. The internal cartridge gives you greater flexibility for controlling water flow and temperature.
- Disc tap: This tap comes with disc ceramics for controlling water flow, which is achieved by manipulating and aligning the discs via the handle.
Other tap types include a mixer tap, which is a single unit with two handles for hot and cold water. You can also opt for a monobloc tap, which has a single handle that turns either direction to control the water temperature. These types are based on the design as uses, disc, ball, cartridge, or compression mechanisms.
How to Fix a Dripping Tap Guide
Understanding the type of your tap will lessen the hustle of fixing any leak. Working from the point of knowledge will reduce the chances of worsening the problem. Once you are armed with such knowledge and tools, the following simple tips will help you fix the drip:
- Turn off the water: Turn off the water to your tap to avoid flooding and wastage. Your work will be less cumbersome when working in a dry area and with a dry tap.
- Remove the handle: First, remove the taps’ cover or any decorations using the screwdriver. Use the flathead screwdriver to unscrew the handle and access the parts below. The screw is usually located just beneath the cover. Place the handle, cover, and decorations in a safe place where you can easily find them during reassembling.
- Remove the tap system: Use the adjustable spanner or pliers to hold the tap while unscrewing the nut or washer using a wrench. Always ensure that you note where all the components fit.
- Check the tap system: Check and address all causes of leakages. Clear any debris and replace the affected washer before reassembling. Use the tape to tighten the tap handle.
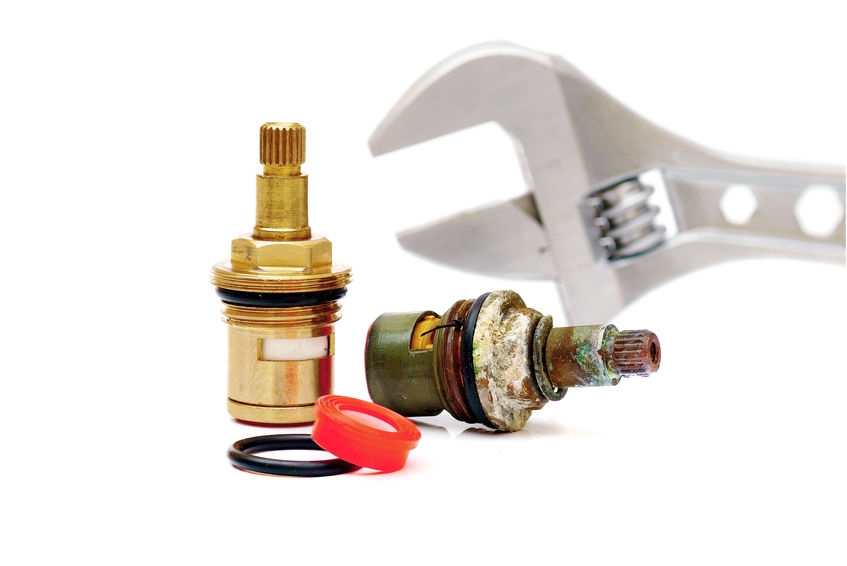
How to Replace a Ceramic Disc Tap
Ceramic disk taps have a simple system consisting of several rings with different sizes, discs, valves, spindles, and housing. If you have handyman skills, replacing a ceramic disc tap usually takes a few minutes. The following easy steps will help you complete the task:
- Turn off water at the supply valve and run the tap dry. You need a dry working area to avoid any spillages and accidents.
- Remove the handle: Use the screwdriver to the coverings and button for the affected tap. Once the screw for the handle is exposed, unscrew it by anti-clockwise motion. Once loosened and removed, set aside in a clear and clean area.
- Remove the exposed valve using the adjustable spanner while holding the rest of the tap using pliers. Always keep track of how the various parts fit within the whole tap system.
- Identify and replace the damaged parts of the tap. Push the circlip using the screwdriver to release the spindle. Push the seals, valves, and rings before cleaning them of any debris. Replace damaged parts before reassembling.
- Reassemble the tap system using a last-first criterion. The last parts you removed should fit first.
- Test the handle before switching on the water to test for any leakages. Turn the isolating slowing to minimize water flow while you assess for any problems.
Kitchen and Showerheads Leaking Fix
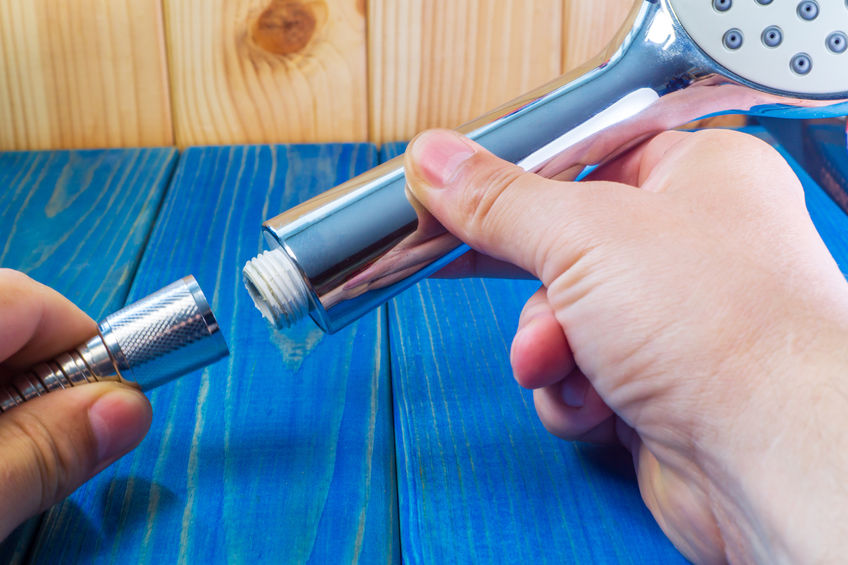
Water is primarily used in the kitchen and showerheads. Therefore, water leakage problems are commonly experienced in these areas. One of the common causes of kitchen and showerheads leakage is wear and tear due to frequency of use. In some cases, the problem may stem from poor installation, low-quality products, or disasters.
When fixing kitchen and showerhead leakages, always carry out a situational assessment to identify the source of the problem. If you lack the skills, hire a professional to fix the leakage. For those plumbing skills, ensure that you have the right tools and replacement parts. Ensure that you note where each piece fits into the whole system.
Water leakages are costly and hazardous, especially when the system is close to the electrical system. Before you undertake any repair work, ensure that you have the right tools and skills. Use high-quality fittings from the onset. For all your plumbing and heating needs, call 0800 328 4329 or email us at info@aquatek.info.